
DIY Home Project: Before & after - floor to ceiling modern bookshelves on a budget
Time to do some DIY home improvement
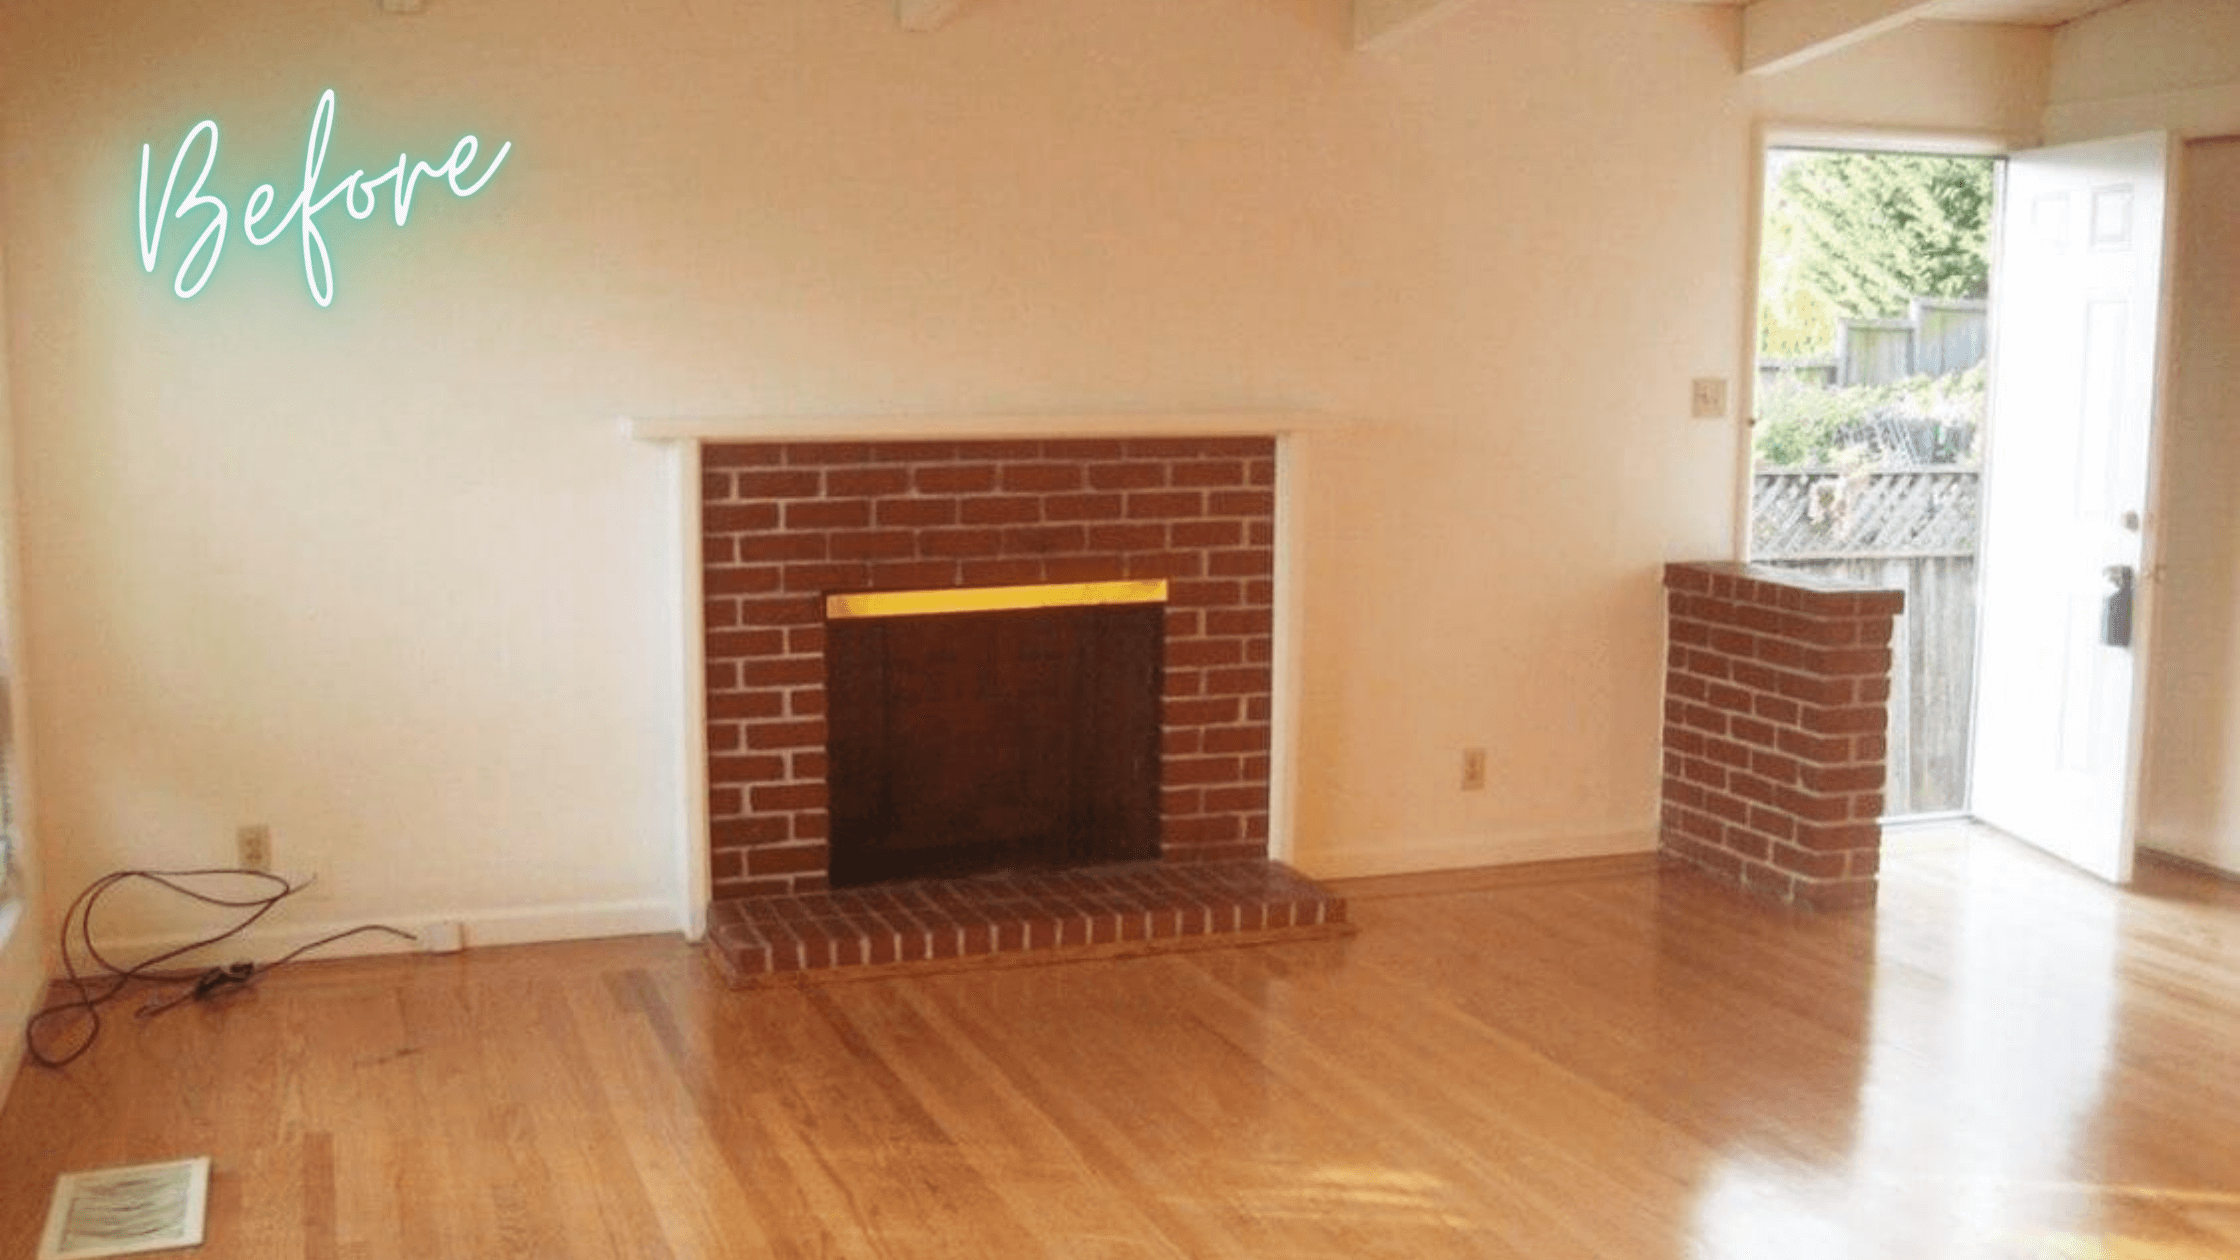
We got the keys to our house on Aug 24th, 2016, packed up our apartment, moved in on September 2nd, and my parents flew in from Cleveland on September 3rd to help us kick start our rehab. CLEARLY, we did not have a kid then because this sounds like a crazy schedule for anyone!
I had a huge spreadsheet of projects and I don’t know why but I quickly chose a massive floor to ceiling built in & fireplace rehab as the first project. My Dad had built these beautiful bookcases at my childhood home when I was younger so I knew it could be done, I just needed some help to actually figure out how to do it.
I sketched up my plan and sent my Dad some examples from Pinterest DIY ideas and he was totally up to the task!
While my dad sat there with a pencil and paper plotting, planning and staring at the wall. My Mom, Jake & I started some demo work! Our entryway is on the left side of the house, which was weird at first but now I love it. We removed a small brick wall that I am guessing was there to create some sort of entryway space, but really it just made for a tight fit.
The inside of the fireplace had been painted at some point and it was clearly not a high heat paint because it was a bright weird orange/red color. My mom and I tag teamed removing the paint because it was very annoying, took forever, smelled terrible and frankly sucked. We bought some stuff that gets sprayed on and added a hard bristled metal brush to our drill to help scrub it off. This is definitely a job to do with the windows open and a mask & protective glasses on!
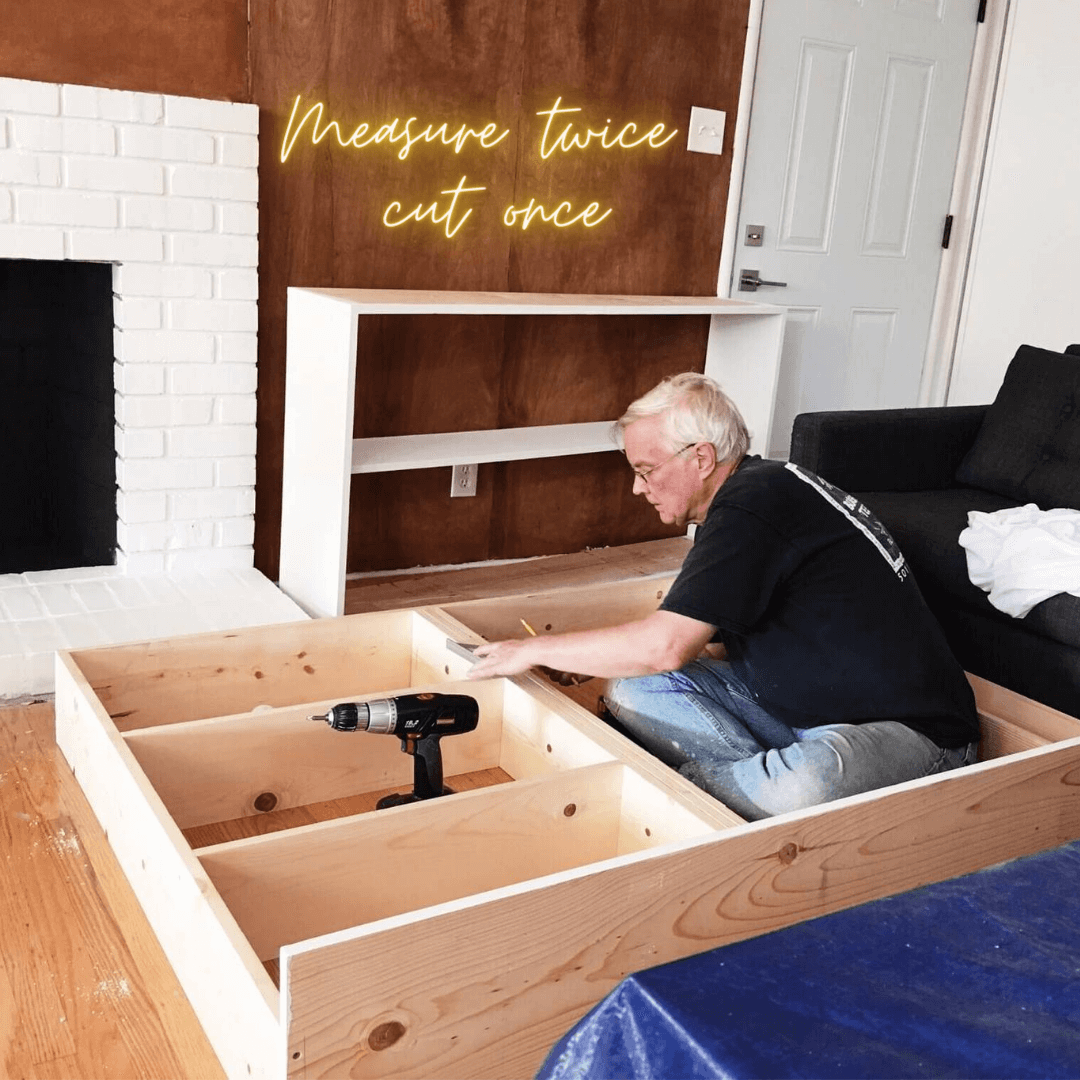
As for the bookcases, we ran into an early planning problem. I really wanted all of our electronics like the receiver to fit in a cabinet at the bottom with our record player on the first shelf. I didn’t realize where the window started would reduce the depth by about 3 inches and then we couldn’t make it work. After being a baby and arguing with my Dad, we decided to keep going and deal with it later.

Removing the old bright red/orange fireplace paint on the inside and a coat of white primer on the outside of the fireplace. Super easy to update with an all white painted fireplace.
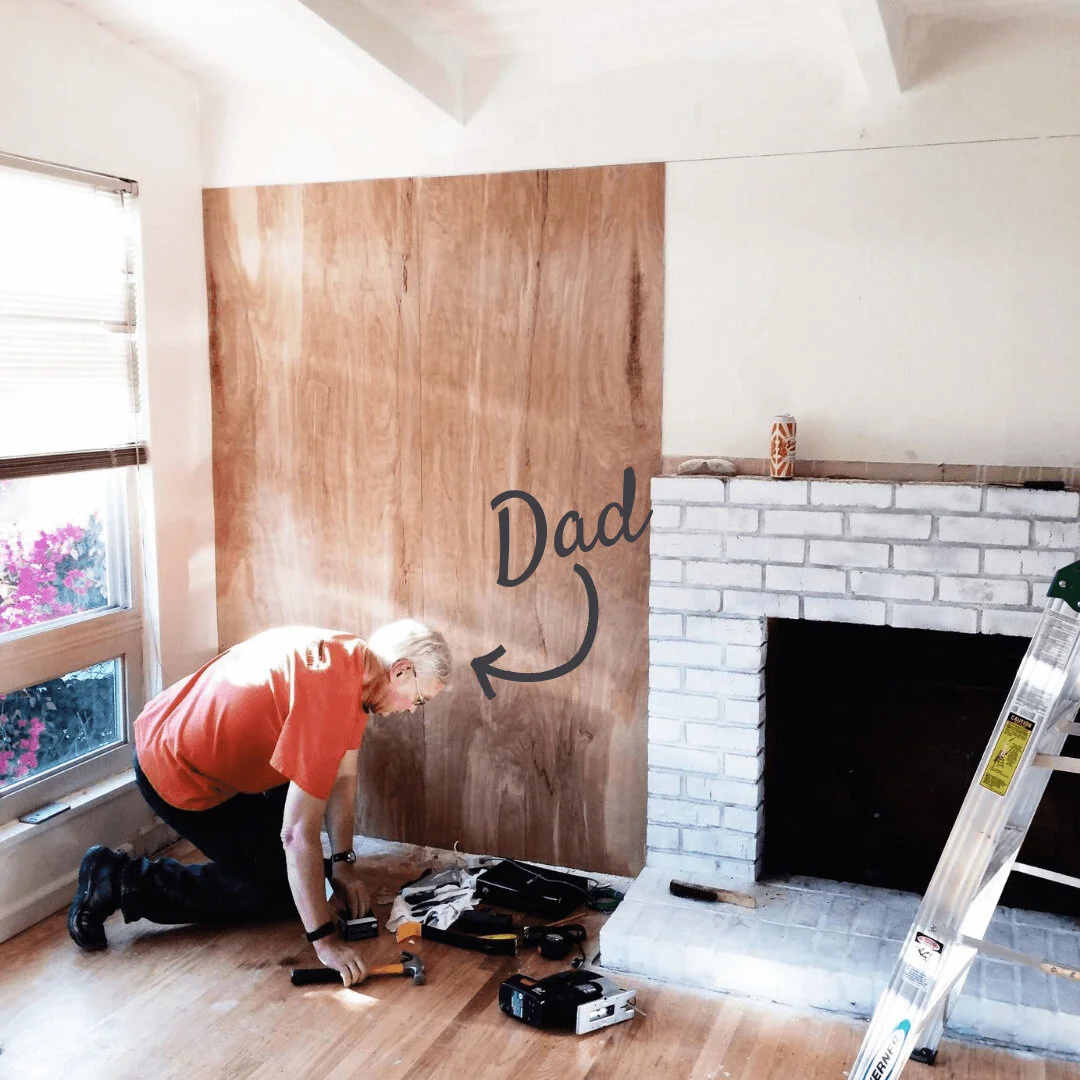
Dad aka Don installing the wood panels for the back of the bookcases around the fireplace.
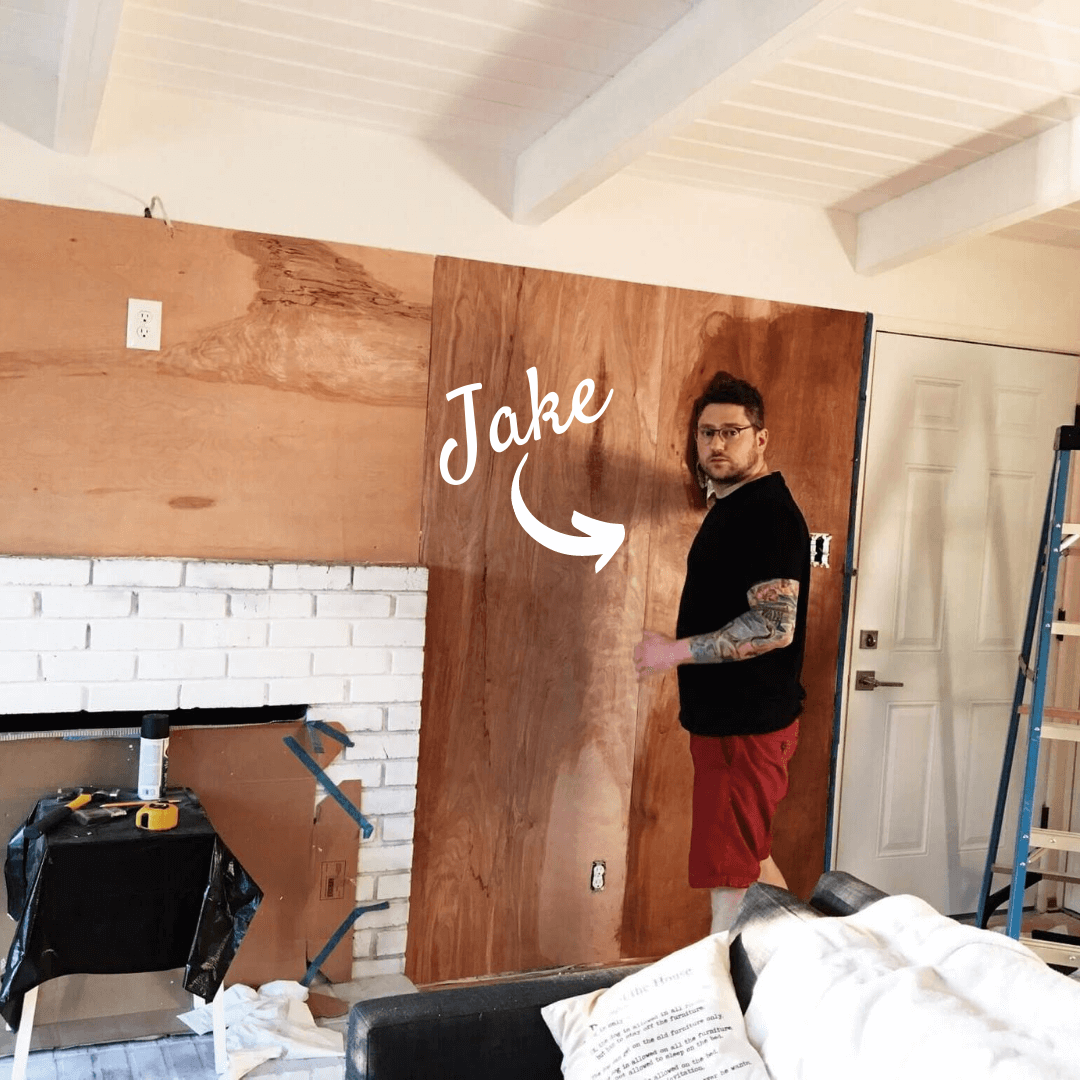
Jake aka ‘The Husband’ staining the wood panels for the new and improved modern bookshelves.
In hindsight I wish we had splurged a little and bought some thicker paneling for the wall because it was a bit flimsy and didn’t cut as well as we liked. I was really trying to watch the budget, but now I don’t think it’s noticeable at all.
My Mom & I spent our time doing a ton of demo work in another part of this room and then we did all of the painting as pieces were ready to go. We painted the bookshelves white before they went up so we didn’t have to deal with taping off the new wood panels.
We went to a local lumber yard to find a mantel, we just wanted something with beautiful grain but fairly modern looking. Not a lot of knots or anything that resembles a cabin in the woods. Jake spent hours in the garage sanding it and staining it, it turned out wonderful!

Lots of glue and let it sit overnight with extra bricks from the wall we tore down earlier.

I have no idea why my head is cut off in this picture, but after days of continuous DIY work we needed to stock up on wine.

I’m constantly restyling the decor, but really happy with how it turned out!
One thing I don’t have pictures of is the base cabinets. It was really important to have an area to store things that we typically want out of sight. None of us had ever built something with a sliding door, so I looked online for kits and it was going to cost a fortune to get something that would match our dimensions. So we went to our local Ace Hardware and just roamed the aisles looking for something that we could make into a track. I have NO idea what we actually bought but I know this is not its intended purpose. We added a strip to the top and the bottom and screwed it in, popped in the wooden doors and we were good to go!
Total cost: ~$500

Before & after DIY built in bookshelves!


Most home sites today? They’ve all been swallowed up by the same giant company. They look the same, they read the same, and they exist to push Amazon links.